Hanging Mass Loaded Vinyl
We see a lot of questions with people asking how to properly install Mass Loaded Vinyl, so we’re here to help. When it comes to DIY projects, you want to make sure you get it right the first time or else it becomes more of your time and money. At our sister company, Commercial Acoustics, they install mass loaded vinyl products regularly, so you can trust us to teach you how to hang it like a pro.
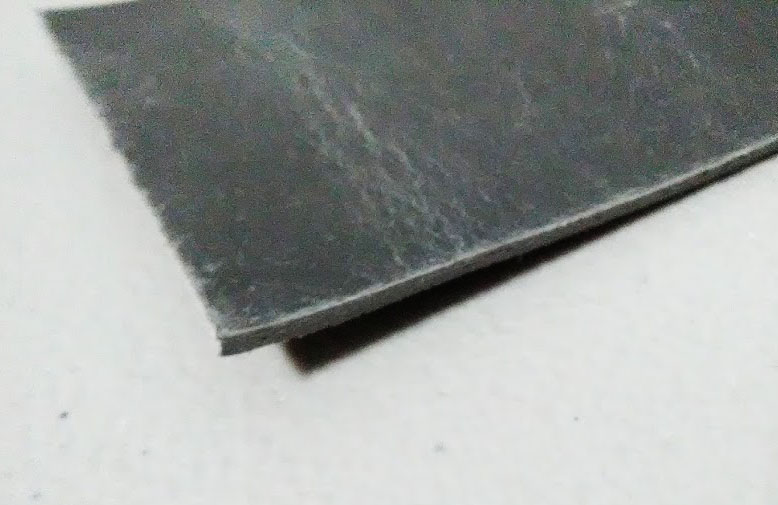
Mass Loaded Vinyl is a simple product that is essentially a roll of heavy, dense rubber which can be cut with a utility knife, and stapled or screwed to the studs/drywall in your project.
When to Use Soundproof Wall Membrane
Before giving you some tips, we’ll have to see what kind of home project you’re getting into. There’s are some different methods to hanging MLV depending on exactly where you plan to install it. For example, installing it during construction directly onto studs will be different from installing it over existing drywall. Of course, it will be a similar installation process but you need to know what to do differently.
Most of the time, people will use mass loaded vinyl to soundproof between adjacent rooms. You can also use it on doors and windows to keep sound from transferring between rooms, but in a different form.
Our other sister company, Residential Acoustics, manufactures soundproof curtains and soundproof door covers. You can place these over windows and/or doorways to keep noise in or out of your room. While they are made with a lighter mass loaded vinyl, they’re actually wrapped in tasteful fabric so you don’t have to look at ugly vinyl hanging over the doors and windows in your house.
Proper Tools and Steps When Installing MLV
In order to properly install a soundproofing wall membrane, you will need:
- + Another person to help you
- + 1/2″ staples or pan head screws
- + For metal studs – drywall screws
- + Seam Seal Tape
- + Mass Loaded Vinyl or Wall Blokker
Check out Our Guide to Choosing the Best Mass Loaded Vinyl before getting started to make sure you choose the right MLV product.
How to Install Mass Loaded Vinyl
Now that you have the material, you can start installing.
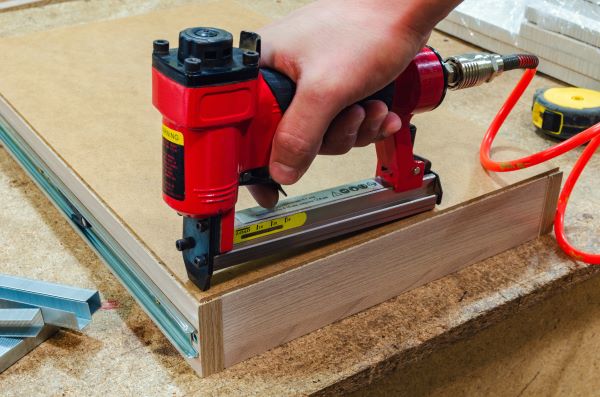
- Start fastening the material at the top first, horizontally, and use your nail gun or staple gun to secure the membrane every 1 foot.
- When you start going down the sides, fasten the material every 3 feet making sure the material is flush with the studs.
- When installing the next piece, get it as close to the adjacent piece as possible without overlapping to panels.
- Seal up seam between panels using Seam-Seal tape.
- When cutting around outlets or other protrusions, the gap should be no larger than 1/4″ and it should be sealed with acoustical caulk.
- Use putty pads around outlet boxes.
- Caulk the MLV at the floor line.
These are instructions for installing soundproof membrane directly onto the studs, and while it may not be as effective you can also install it over existing drywall. You should still have someone helping you and it will be a similar process to installing over studs, but you wont have to worry about cutting around wiring or piping, just the outlet covers.
How to Install Mass Loaded Vinyl on Ceilings
Mass loaded vinyl can also be installed on ceilings, and you’ll need the same tools we mentioned earlier plus a few more –
- Drywall lift or hoist
- 4’x8′ sheet of plywood with pre-drilled holes about 12″ apart along edges
- An extra helper or two
With your tools handy and a couple of extra helpers, you can begin to install MLV on the ceiling.
Begin by placing the sheet of plywood and then the MLV on the drywall hoist, and once both are in position, use the drywall stapler to stapler through the pre-drilled holes in the plywood. Since the mass loaded vinyl is limp, it will tend to droop more on the ceiling due to gravity, so have your extra helpers hold the MLV barrier close to the ceiling, and staple every 12″ rather than every 24″ or so.
Once you’ve finished fastening the MLV to the ceiling, tape your seams using seam seal tape. If mass loaded vinyl sheets butt-up against one another on a stud, or if you’re hanging directly on a gypsum ceiling, this step won’t necessary.
Drywall should be hung within 1-2 days to permanently secure the mass loaded vinyl to the ceiling, since the risk of MLV falling is greater when it’s fastened to the ceiling, rather than the wall.
Ensuring Longevity of the Sound Barrier
When you get the material, you should let it sit and acclimate to the environment for at least 24 hours. Don’t allow it to sit in the sun for any long periods of time (more than 2 weeks) or else it will eventually cause the MLV to crumble and not work as it should. Also, don’t hang mass loaded vinyl too soon before the drywall is hung, or the material hanging on the nails for a long time may start to tear due to the weight of the panel.
If you choose to just go with the soundproof curtains, consider the same tips from above. These curtains are not meant for outdoor use as extreme heat and extreme cold will greatly deteriorate the material.
Summarized – How to Hang Mass Loaded Vinyl
If you’re up for the DIY challenge, installing mass loaded vinyl on your house shouldn’t be too hard and your work will pay off when you hear how well it works. We’re here for all of your DIY soundproofing needs, don’t hesitate to reach out if you need any assistance on your next project!