Soundproofing a wall in your home after construction is already complete can be a pain. It’s going to be a pretty involved process no matter what, but we’ll provide you with the least complicated steps to soundproof existing walls.
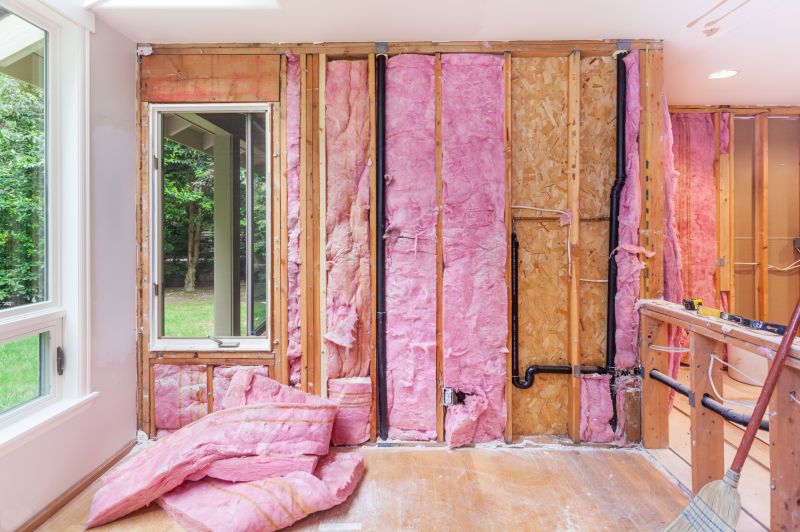
Keep in mind that soundproofing walls are measured in what’s known as STC, or Sound Transmission Class. This is essentially the number of decibels, or dBA, that the wall is blocking. Existing walls are tough to soundproof, since they’re already closed up with drywall on each side, and the most effective way to greatly increase their soundproofing level is to take down a layer of drywall and add air gaps. Our guide below will outline best approaches to soundproofing existing walls, whether demolition is an option or not.
Can You Soundproof Existing Walls?
The short answer is yes, you can soundproof existing walls, but it’s going to take a lot of work and won’t be as effective as soundproofing the wall during construction. You have two primary options: tear the existing wall down (at least one sheet of drywall on one side), or add to the existing wall assembly. Since, much of the time, demoing the existing wall is not an option, we’ll detail below how to add soundproofing layers to your wall without demolition.
NOTE: While adding layers may achieve an STC increase of 7-10 points, tearing a layer of drywall off, then adding a 2″ air gap and a new stud & drywall assembly may increase the STC by 15-20 points, or more! Consider the cost and benefit of each approach when budgeting your wall soundproofing project.
Products and Tools You’ll Need to Soundproof Your Existing Wall
What you’ll need:
- Wall Blokker Pro
- This is our EVA-based 1lb/sf mass loaded vinyl with a cotton scrim layer. It’s the best option for layering over existing drywall, because it decouples the two rigid layers from each other. Sound actually moves faster through solid materials, so if sound can’t even move from the first layer of drywall to the next, you’ll have a pretty soundproof wall.
- Acoustical Caulk
- You’ll use this to seal up the new drywall to ensure there aren’t any gaps that could cause sound flanking.
- Box Cutter
- Wall Blokker Pro can be easily cut using a box cutter.
- Drywall
- Nail/Staple Gun
- Simply use this to attach the material to the existing wall.
- Vinyl Seam Tape
- Seal the seams between each sheet of Wall Blokker Pro.
Finding Sound Leaks in Walls
Before starting a project like this, do you know where the sound is coming from? If it’s a street facing wall with a window, you can actually start with just soundproofing the window and if that doesn’t work you should work on the wall. However, if you’re experiencing noise transfer between adjacent rooms soundproof the receiving side of the wall . So if you share a wall with someone who watches TV too loud, treat your own side of the wall with soundproofing materials.
Additionally, check the affected wall for any gaps or cracks. If you see any, seal them up with acoustical caulk and, if you’re experiencing less noise this may be all you need to do. We always suggest doing this first because a 1% gap in a wall can let in 50% of noise, because sound is going to take the path of least resistance. One last method to try before starting this project is getting a white noise machine. They’re very easy to get used to and help to cover/mask any disturbing noises you hear throughout the day.
Step by Step Soundproof Walls
If none of the above suggestions worked for you then it’s officially time to get started on soundproofing your existing wall(s).
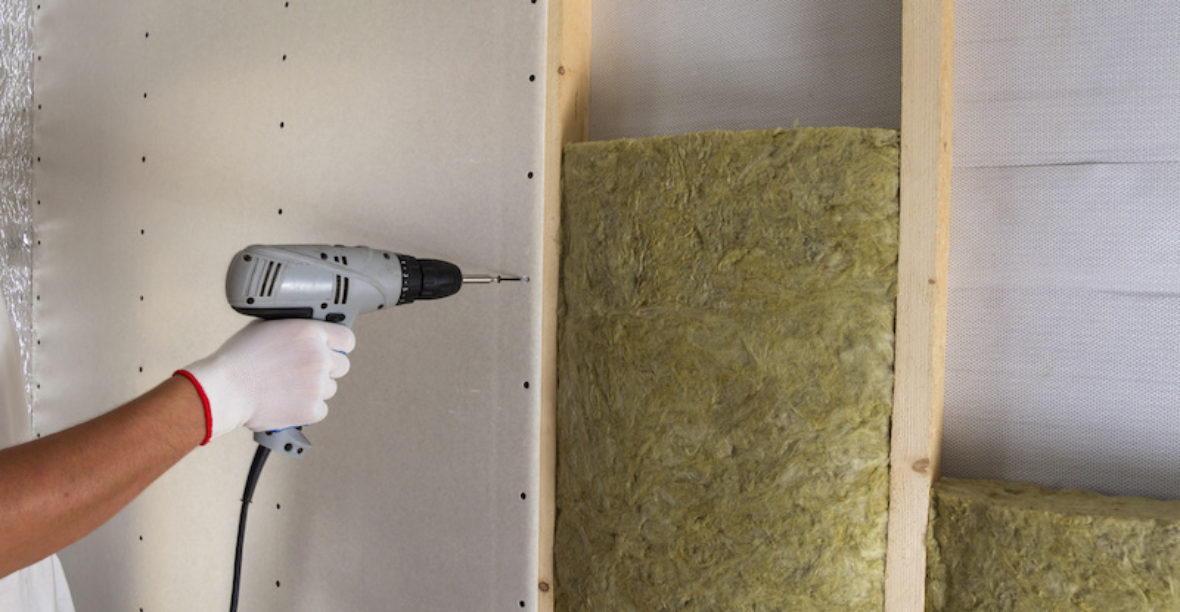
Step 1: Wall Blokker Pro will come in a 4′ wide by 25′ long roll and it will weigh 100 pounds. Cut the roll up into sheets that are the height of your wall so you aren’t trying to lug around a very heavy roll while hanging it up. Have a friend hold the sheet up on the wall while you use a nail or staple gun to secure the Wall Blokker Pro to the wall.
Step 2: After you’ve covered the wall(s) with Wall Blokker Pro, seal up the seams between pieces with MLV seam tape.
Step 3: Now, using your acoustical caulk and sheets of drywall it’s time to cover the Wall Blokker Pro with the drywall. It’s important here again to make sure all gaps are sealed up with the acoustical caulk.
This is going to the easiest and least messy way to soundproof existing walls in your house. For those of you who are open to starting your walls from scratch almost, check out How to Soundproof a Wall.
Soundproofing Existing Windows
Above, we mention soundproofing just your windows to start if it turns out the sound is leaking in through them. Rather than soundproof the entire existing wall, plus your windows, you can start with just the windows and see if you’re satisfied with those results.
Soundproof curtains work to actually block sound, while other types of sound curtains only work to absorb sound. There are a couple ways to figure out if sound curtains are meant for soundproofing or sound absorbing:
- Are they made from an STC-rated material? If yes, then they are soundproof curtains.
- Are they made with thick, heavy fabric? If yes, these are sound absorbing curtains.
An STC-rating shows how much sound a certain material or wall assembly is able to block. Just like the Wall Blokker Pro works for walls, soundproof curtains work to provide your windows with additional STC.
Soundproof Existing Walls
So when it comes to soundproofing existing walls, it will take a bit of work but it will be worth it in the end. As long as you have someone to help, it shouldn’t be as hard as you might think.