
If you love listening to music or podcasts on your daily commute, you’ve probably experienced the frustration of noisy traffic or honking horns ruining your listening experience. However, there is a solution: soundproofing your car.
Soundproofing your car may seem like a daunting task, but it’s actually a relatively easy DIY project that can be done with just a few sound blocking and sound absorbing materials and a little bit of patience. In this article, we’ll explore the benefits of soundproofing your car and guide you through the process step by step.
Why Soundproof Your Car?
There are several reasons why you might want to soundproof your car. Firstly, it can significantly improve your driving experience by reducing outside noise and creating a quieter, more peaceful environment. This is especially important if you frequently drive on busy roads or highways.
Secondly, soundproofing your car can enhance the audio quality of your car stereo. By reducing outside noise, you can hear your music or podcasts more clearly and at a lower volume, which can help protect your hearing in the long run.
Lastly, soundproofing your car can increase its resale value. A quieter car with better audio quality is more attractive to potential buyers, which can result in a higher sale price.
MORE: The best soundproofing material to use in your home
How to Soundproof Your Car with Sound Absorbing and Sound Blocking Materials
Now that we’ve established the benefits of soundproofing your car, let’s get into the nitty-gritty of how to do it.
Step 1: Identify the Problem Areas
The first step in soundproofing your car is to identify the problem areas. Common areas that let in a lot of outside noise include the doors, windows, and floor. Once you’ve identified the problem areas, you can move on to the next step.
Step 2: Choose Your Sound Blocking and Absorbing Materials
There are several materials you can use to soundproof your car, including acoustic foam, mass loaded vinyl, and butyl rubber. Acoustic foam is a lightweight, porous material that absorbs sound waves, while mass loaded vinyl is a heavy, dense material that blocks sound waves. Butyl rubber or acoustical caulk are flexible materials that can be used to seal gaps and prevent sound from leaking through.
Step 3: Install the Soundproofing Materials
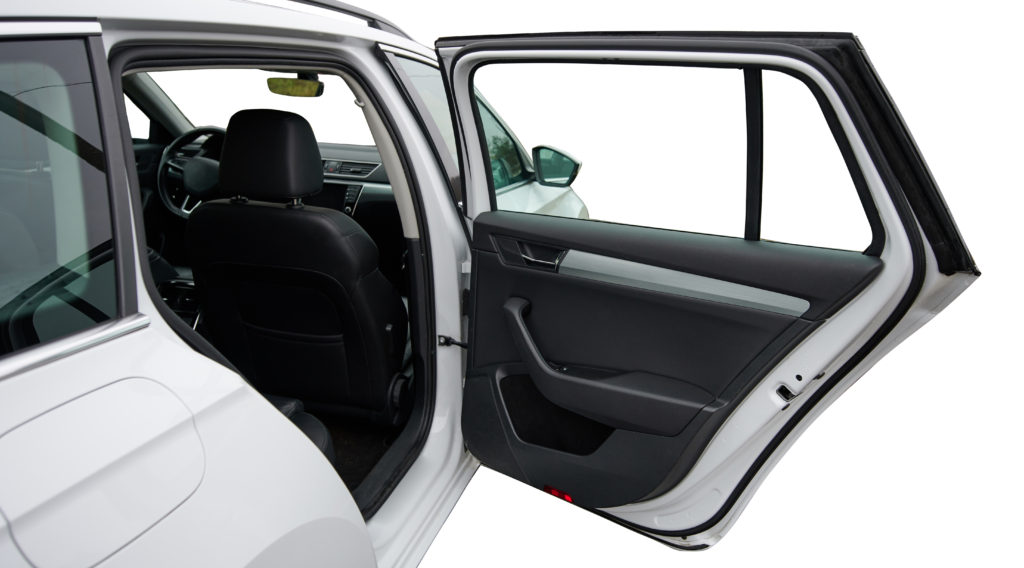
Once you’ve chosen your materials, it’s time to start installing them. Begin by removing the door panels and adding a layer of soundproofing material to the inside of the door. You can also add a layer of material to the outside of the door if you want extra soundproofing.
Next, add a layer of soundproofing material to the floor of the car. This will help reduce road noise and vibrations. You can also add material to the ceiling and trunk if you want to soundproof those areas as well.
Finally, seal any gaps or cracks in the car with butyl rubber or caulk. This includes gaps around the windows, doors, and trunk. By sealing these gaps, you can prevent sound from leaking through and improve the overall effectiveness of your soundproofing.
Step 4: Test Your Results
Once you’ve finished soundproofing your car, it’s important to test your results. Take a drive on a busy road or highway and see how much outside noise you can hear. If you’re still hearing a lot of noise, you may need to add another layer of soundproofing material or seal any additional gaps.
MORE: A guide to choosing the best mass loaded vinyl
Conclusion: How to Soundproof a Car
Soundproofing your car is a relatively easy DIY project that can significantly improve your driving experience. By reducing outside noise and enhancing the audio quality of your car stereo, you can create a quieter, more peaceful environment that’s perfect for listening to music or podcasts. So, if you’re tired of noisy commutes, why not give soundproofing your car a try?