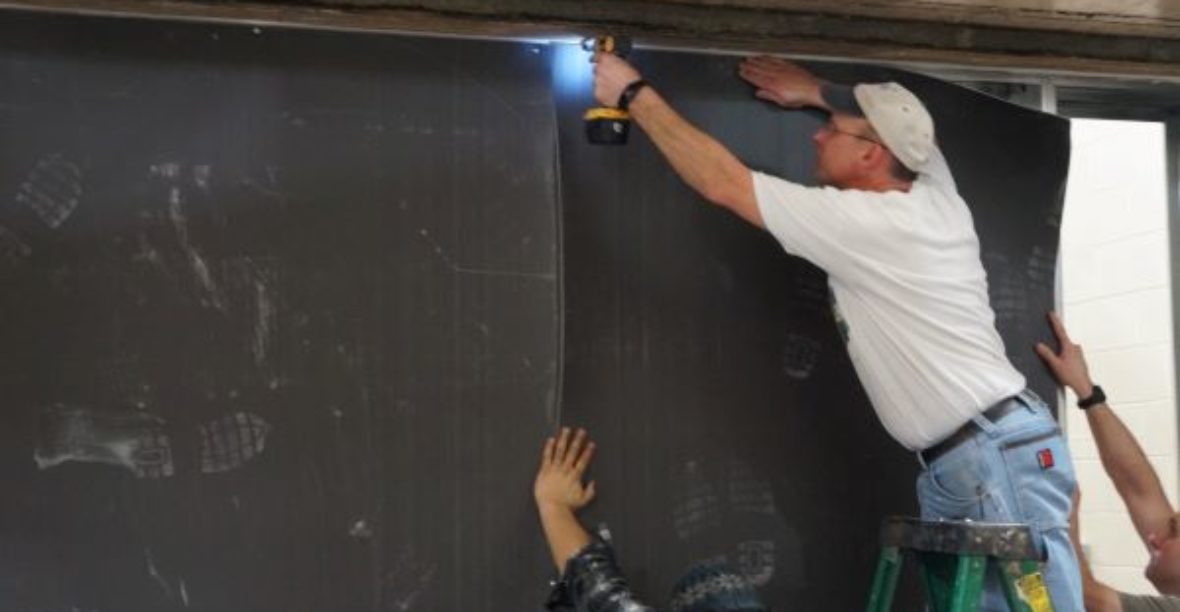
Installing mass loaded vinyl is a very labor-intensive job, but if you have the right help and tools, it’s not hard to do it correctly. However, we all make mistakes, even when we have clear instructions available, whether you miss a step or simply mess up a step by moving too fast, it happens to the best of us.
As long as no major mistakes are made during the installation, then any minor errors that did occur should only need a simple fix. If you have accidentally made a mistake while installing mass loaded vinyl, you’ve come to the right place – keep reading to see our tips and tricks for correcting MLV install mistakes.
Common MLV Install Mistakes & How to Fix Them
The most common minor mistakes that are fixable when installing mass loaded vinyl include:
- Screw mistakes on studs and baseboards
- Missed Cuts past penetrations
- Overcuts around penetrations
These are all very easy mistakes to make, mainly because MLV is so easily cut using a razor blade, so it’s not unreasonable to cut a bit more than intended. Luckily there are a few very affordable materials that can be used to fix these errors, and those are acoustical caulk and seam seal tape.
Repair MLV Screw Install Mistakes
It can be hard to tell where exactly the stud is when using the nail gun to attach the MLV. If in the event that you miss with the screw and hit the cavity rather than the stud, be sure not to remove the screw. The best thing you can do is leave the screw in place and tape over it with Seam Seal tape.
If you do remove the screw, you may need to patch the hole with a small piece of MLV with seam seal tape over that. The worst thing you could do is remove the screw, and leave the hole unsealed, because now the sound you’ve worked so hard to block, can leak through that hole in the mass loaded vinyl.
Correcting Missed Cuts During MLV Installation
One of the most common mistakes people make when during MLV installation, it cutting past a penetration when trying to cut around it. This usually leaves you with a seam that doesn’t fall on a stud, which as we know isn’t good for soundproofing quality.
Simply use seam seal tape to repair the overcut, and you’re good to go.
Repairing Overcuts Around Penetrations – MLV
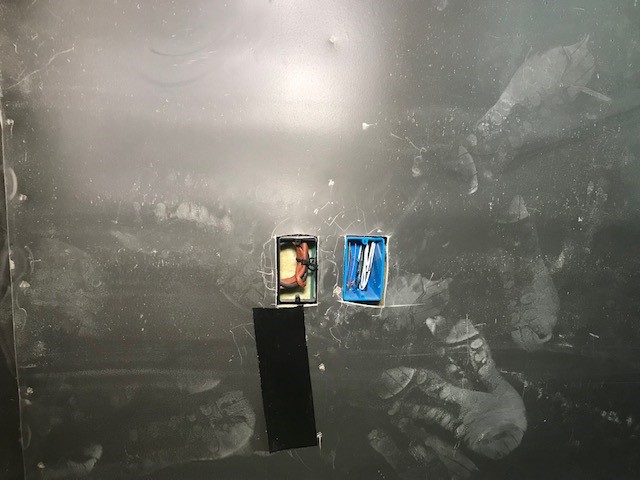
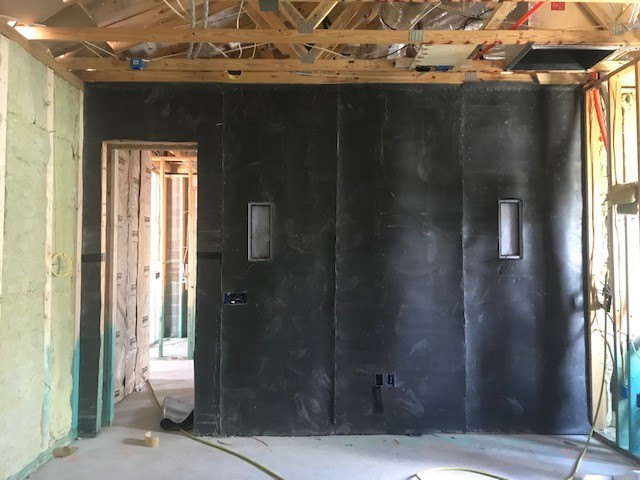
It can be hard to tell where you’re cutting around a penetration such as an outlet or light switch, because the mass loaded vinyl will be covering the object you need to cut around. A good method here to avoid cutting too far from the penetration is to press down around the penetration, and an indent should show slightly in the vinyl barrier. This should give you a good guide for the cutout.
In the event that you have more than ¼” between the penetration and the MLV, this gap should be filled with acoustical caulk to avoid any sound flanking once the wall is finished. Also be sure to use STC rated putty pads on the back of your outlet boxes, as sound can flank through these as well.
If the gap is much larger than ¼”, you may need to redo that sheet with a whole new cut, or add some extra MLV around the gap and mend it with seam seal tape.
Installation Fixes with Mass Loaded Vinyl – Summary
To review, the most common installation mistakes with MLV and their solutions are as follows –
- Screw mistakes on studs and baseboards
- Leave the screw in place and cover it with seam seal tape
- Missed Cuts past penetrations
- Repair the overcut with seam seal tape
- Overcuts around penetrations
- Fill the gaps with acoustical caulk