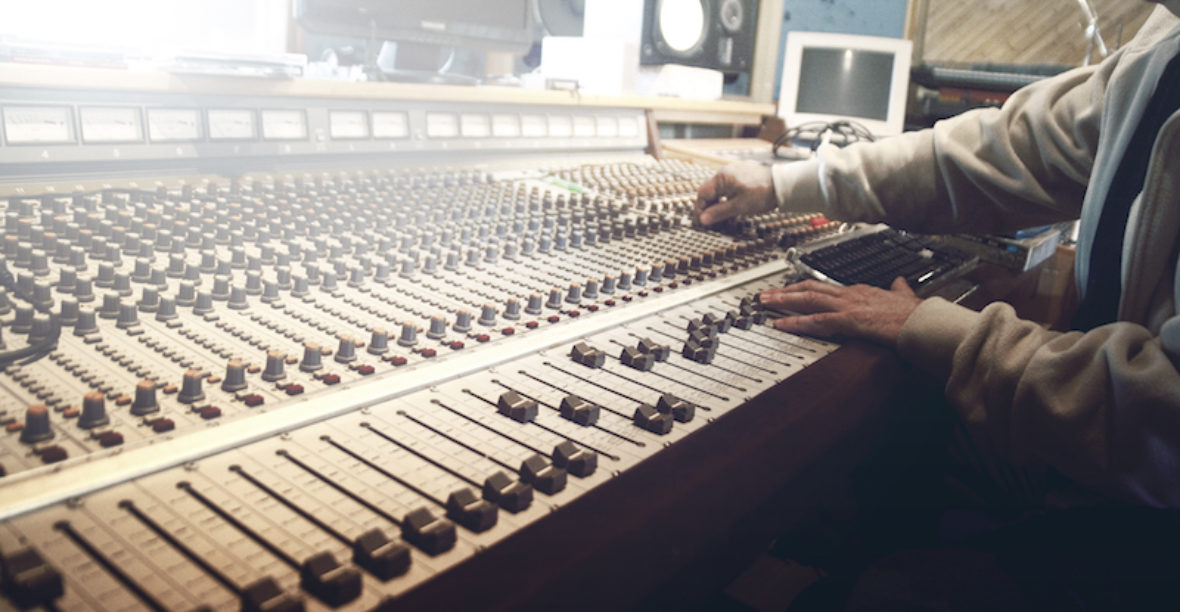
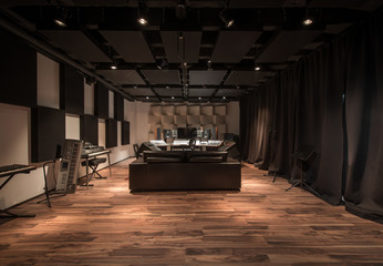
One of the biggest challenges new artists face is finding a suitable place to record. Buying studio time is way too expensive and home recordings tend to sound messy and amateur. But what if they didn’t? With proper sound treatment, you can turn a walk-in closet or an unused guest-room into a fully functioning home recording studio. Here’s how.
The Basics of Recording Studio Acoustics
First, you need to understand the difference between sound blocking and acoustics. Sound Blocking is what blocks noise coming from outside the studio, like traffic or other people in the house. Acoustic treatment absorbs echo and reverberation from inside the studio itself, improving the quality of the recording.
One of the most common soundproofing mistakes people make when it comes to recording studios is only focusing on one of these areas. Your sound treatment needs both to be successful.
Soundproofing a Recording Studio

There are three main factors to consider when installing sound blocking solutions to your studio:
1. Add Mass – The denser your walls are, the more sound they will block. You can add mass to existing walls by installing a layer of soundproofing material like Wall Blokker Pro, followed by an additional layer of drywall. If installing drywall is out of the question, you can hang ‘acoustic wallpaper,’ directly to walls. Both of these materials are designed to transform thin walls into sound-suppressing structures.
There are also a wide array of basic Mass Loaded Vinyl materials, that when installed within the wall, can soundproof your studio entirely!
2. Seal Noise Leaks – Noise leaks are often overlooked during soundproofing projects, but they contribute hugely to noise problems. Noise will sneak into any gap it can find, so seal up any weak spots in your walls with caulk. If there is a gap between the door and the floor, fill it up with a door sweep to keep noise from seeping through the empty space.
3. Reinforce Windows & Doors – Windows and doors are extra susceptible to noise leaks. Reinforce them by installing soundproof curtains and panels. These panels are made from highly-engineered soundproofing materials designed to block outside noise from entering through windows and to reduce noise flow between rooms.
Acoustic Treatment in the Studio
Acoustic treatment is essential in any recording studio and can get pretty serious. If you’re just starting out, consider these 3 main factors.
1. Separation – You need computers in your studio but you never realize just how much noise they make until you hear it on a recording. To avoid this issue, create as much space between your computers and your mics as possible. If you can, drill holes in the walls to run extension cords through and keep your computers in a separate room or closet.

2. Acoustical Panels & Foam – Acoustical foam is one of the cheapest options when it comes to acoustic treatment. For home studios, you’re likely more worried about sound quality than aesthetics, so basic acoustic foam will work just fine. Install a few layers to the space behind your performers to catch excess sound waves as they hit.
3. Diffusers – Acoustical Diffusers are another home recording studio essential. Diffusers work to reduce intensity and improve clarity so that you can record the cleanest sound possible. Diffusers will only be necessary if you record a lot of music in your studio.
Since acoustic wall panels aren’t very effective at absorbing low frequency sound, diffusers are used to diffract and dissipate the low frequency sound waves that come into contact with them. They remove echo and reverberation without diminishing the effect of the original sound.
Recording Studio Soundproofing
Starting out as a musician is tough. A sound-treated studio will help your recordings sound professional and separate you from the competition, as long as you follow the proper steps to soundproof your home studio. Just keep in mind our main tips below and you should be recording some high quality sounds in no time!
- Soundproof recording studio walls by adding mass such as MLV and an additional drywall layer
- Avoid sound leaks messing up your recordings and install door sweeps and seals around the door to the recording studio
- Improve the acoustics of your recording studio with acoustic wall panels and diffusers, as using both will help result in a balanced and echo free recording
Did one of these suggestions work for your studio?

